How to Make a Silicone Mold for Candles
Have you ever thought about making your own candle mold? Creating a silicone mold is not difficult and can be done even by beginners. By following a few basic rules, you can achieve a high-quality mold that will serve you well.
##MEDAILONEK_EN_001##
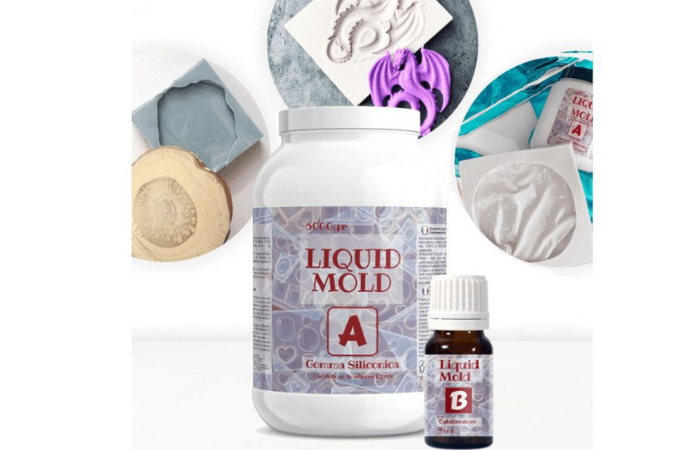
The Right Silicone Is Essential
The hardness of silicone plays an important role in mold making, as it affects flexibility, durability, and how easily finished candles can be removed from the mold. Liquid silicones are available in various hardness levels measured in Shore A – softer silicones adapt better to fine details and allow for easier demolding, while harder versions retain their shape better in larger or more complex molds.
The silicone we offer in our online store has a hardness of 20 Shore A, which represents an ideal balance between flexibility and stability. Thanks to its specialized formulation, it delivers reliable results across a wide range of projects – from small candle molds, jewelry, and decorative items to larger molds for statement candles and other creative applications. It is an excellent choice for anyone seeking consistent, professional-quality results without unnecessary compromises.
A silicone that meets these requirements can be found here in our range.
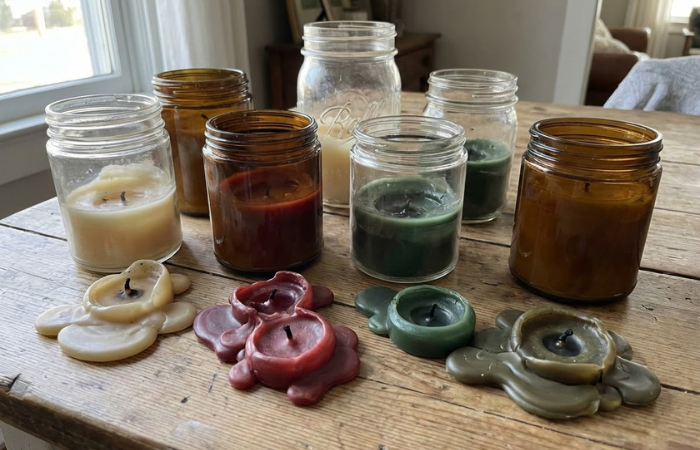
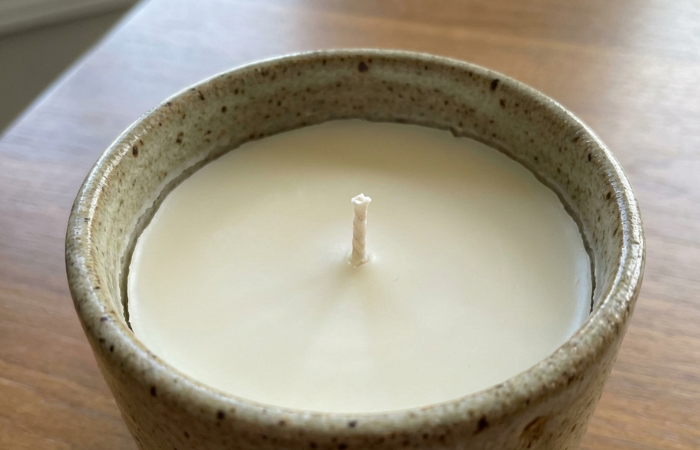
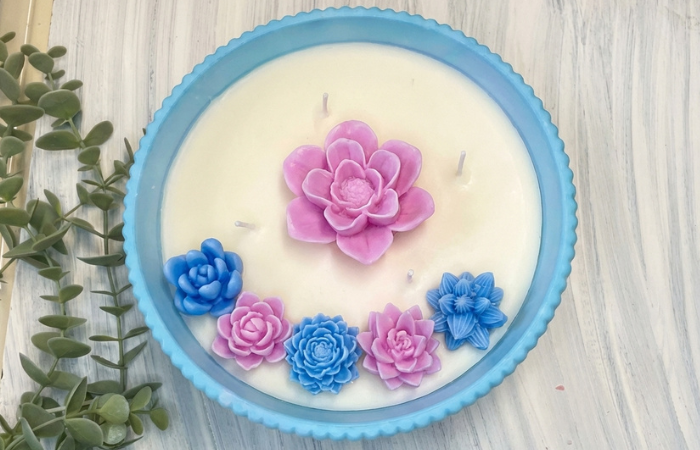
Choosing the Master Model
The object used to create the silicone mold is referred to as the master model or negative form. Keep in mind that silicone captures every detail – surface texture, structure, and even small imperfections. If the model has a matte finish, the final mold will have the same surface appearance.
The material of the master model is also important. Silicone objects are not suitable, as liquid silicone will bond to them. Unglazed ceramic and other porous materials may also cause issues. To ensure easy removal of the finished mold, we recommend treating the model beforehand with a release agent.
Preparation Before Casting
Clean the model thoroughly, remove dirt and grease, and apply a release agent if necessary. Then place it into a box that provides enough space for silicone walls with a thickness of at least 1 cm.
Walls or bases that are too thin may cause the mold to deform during wax pouring and reduce its lifespan. The box used should be slightly flexible or removable so that the finished silicone mold can be easily taken out.
If you do not have a suitable box, you can easily make one using cardboard and adhesive tape. Silicone can be poured directly into the cardboard box; however, it is essential to seal all joints properly to prevent leakage.
How Much Silicone Do You Need
When calculating material consumption, we use a silicone density of 1.24 g/cm³. The required amount can be calculated using the following formula:
Silicone weight (g) = mold volume (cm³) × 1.24
Calculation Steps:
- Determine the mold volume in cm³ (ml)
- Rectangular shape: volume = length × width × height
- Cylindrical shape: volume = π × radius2 × height
- Multiply the volume by 1.24
- This gives you the total weight of the mixed silicone.
Example:
Mold dimensions: 10 × 5 × 3 cm
- Volume: 10 × 5 × 3 = 150 cm³
- Required silicone amount: 150 × 1.24 = 186 g
👉 Result: You need 186 g of prepared silicone mixture (component A + B).
With this method, there is no need to deal with complex ratios – simply calculate the mold volume and apply the constant 1.24.
Mixing and Pouring the Silicone
Secure the master model inside the box. If it might float, attach it to the bottom using hot glue or double-sided tape. Prepare the silicone strictly according to the manufacturer’s instructions and weigh each component accurately.
Mix the silicone slowly and carefully to minimize air entrapment. Pour the finished silicone smoothly and from a low height so that it gradually flows over all details of the model without creating air bubbles.
Removing Air Bubbles
After pouring, gently tap the mold on all sides to release any trapped air bubbles. Then allow the silicone to cure undisturbed. Once fully cured, remove the master model, trim any excess material, and your silicone candle mold is ready for use.